Categories
cake chocolate peanut butter

peanut butter cheesecake

peanut butter cheesecake

Nigella is back, with as camp a parade of gluttony and swank as you would expect. As usual her recipes swell with “of course you should put x and y together, it’s so obvious” and impressive shortcuts.

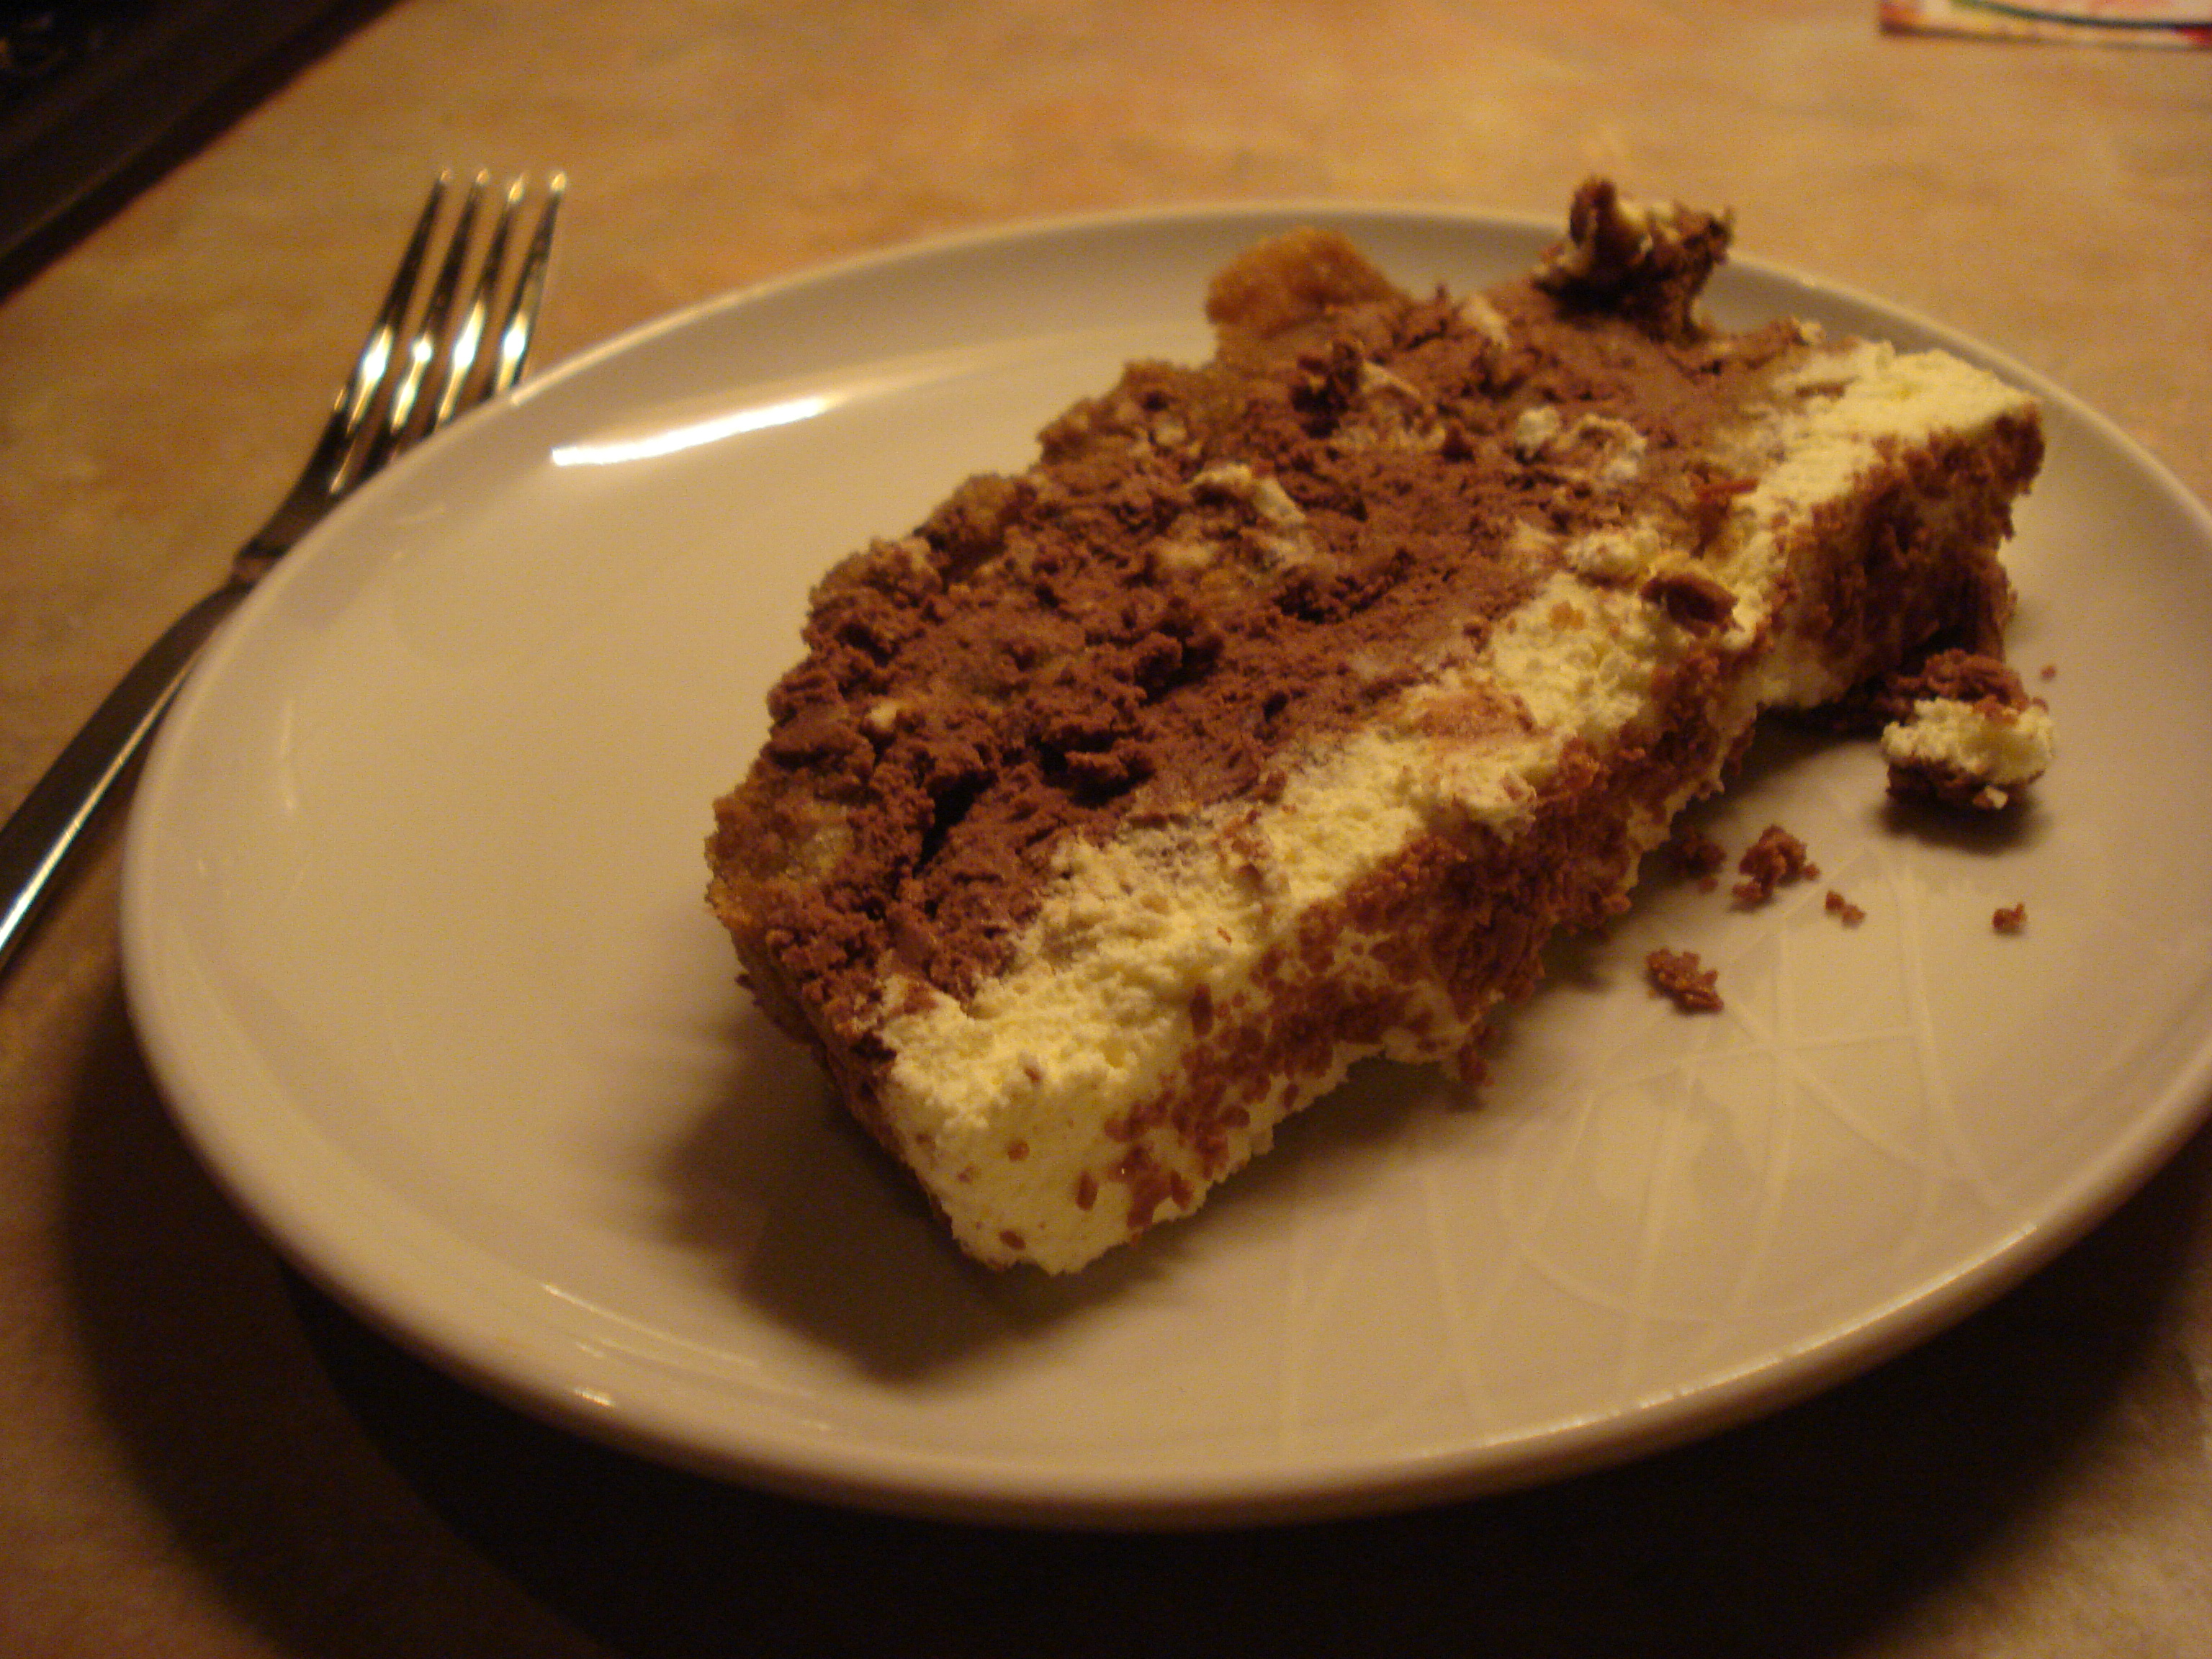
An absolute pig of a dessert was served up in the series opener, peanut butter cheesecake. She seemed to offer about a dozen warnings along the lines of “well, this is only a treat” and “all things in moderation” leading me to believe that Compliance had a fit when she presented a recipe that featured 6 eggs, sour cream, cream cheese, peanut butter and chocolate. Peanut butter seems to be one of her things, and why wouldn’t it be? That combo of sweet and salty is irresistible.

Surprisingly, it’s nowhere near as rich as you think it’s going to be. Indulgent yes, but this just means a pleasingly sweet and creamy texture with that one-more-piece-ness of salted peanuts. It’s great fun, and dead easy to make, so it comes highly recommended. It’s made a million times easier with a food processor, so use one of those if you have access to one.

PS. Nigella Lawson’s recipe is written out in her own words here.

Nigella’s peanut butter cheesecake:

For the base:

200g digestive biscuits

150g dark chocolate

50g butter

50g salted peanuts

For the filling:

500g cream cheese (at room temperature)

3 whole eggs

3 egg yolks

2 tablespoons sour cream

200g caster sugar

4 tablespoons smooth peanut butter

For the topping:

250ml sour cream

100g milk chocolate

30g brown sugar

  1. Pre-heat the oven to 170°C.
  2. Whizz up the base ingredients to dust. Press and pack down into a spring-form tin and leave in the fridge to firm up while you get on with the filling.
  3. Whizz together the filling ingredients until super-smooth and creamy. Pour over the base and pop in the oven for 50 minutes or so, until it has just set on top. (As Nigella put it, “so there is still a hint of inner thigh wobble”). Leave it to stand and cool slightly before adding the topping. It may crack at this point but it doesn’t matter.
  4. Melt the topping ingredients together in a saucepan and pour over the cake. Pop back in the oven for 10 minutes to let the topping set. Take it out and pop in the fridge for a couple of hours or until needed.
Categories
cake chocolate coffee cream food mascarpone

diplomatico

A fudgy-textured and sweet treat: the diplomatico, the twin brother of the tiramisu only with worse PR. I’ve gone for a cross-breed here blending elements of both desserts. A diplomisu, if you will. This can be made a day or so in advance (always handy) and for best results leave it out of the fridge for 20 minutes or so before eating; the textures soften and taking the chill off enhances the silky, creamy texture. If you like boozy coffee-alcohol puds, this is one for you.

Sponge finger tip: I think this works best with really sodden sponge biscuits. You can obviously only submerge them for a few seconds before they turn to mush in your hands. To avoid this, give them a short dip until starting to soften and place them in the dish. Then gently drizzle with more marinating liquor to increase their drunkenness. Do this slowly to ensure the fingers have time to absorb the liquid.

Diplomatico:

500ml double cream, whipped to soft peaks

250g mascarpone cheese

120g dark chocolate, melted

50g icing sugar

150ml strong coffee, cooled

5 tablespoons marsala

About 30 sponge fingers

Grated chocolate, to serve

  1. Whip the cream to soft peaks, and reserve about a third of it.
  2. Stir the icing sugar and mascarpone together, then fold into 2/3 of the softly whipped cream. Gradually fold in the melted chocolate. Check for sweetness at this point as this will be where most of the sweet taste from the pudding will come from, and add more icing sugar as necessary.
  3. Stir the coffee, marsala and a tablespoon of icing sugar together. Dip the sponge fingers in the mix until soggy, and then make a layer of them in a rectangular cake tin (I use a silicone one to get the dessert out easier later).
  4. Add a layer of chocolate cream, then follow with more boozy biscuits. Keep layering, ending with sponge fingers. Add the remaining cream on top of this and refrigerate for at least a couple of hours.
  5. Before serving garnish with grated chocolate, then cut into thick slices.
Categories
cake food honey pistachio polenta

honey and pistachio cake

The recent Jamie Does… series has thrown up some delicious recipes. This cornmeal cake, from his Athens trip, is light, fluffy and stuffed with gooey honey. If I had one criticism, there’s not quite enough honey. I’d up it to 150ml next time. The flavours are still there though, it’s great for sharing. It also lasts for days with no noticeable drying out. Result!

Honey and pistachio cake:

225g caster sugar

75g ground almonds

150g plain flour

200g semolina / cornmeal / fine polenta

1 teaspoon baking powder

Pinch of salt

Zest of 1 lemon

Zest of 1 orange

225g Greek yoghurt

5 eggs

200ml olive oil

150g pistachios

100ml honey

Juice of 1 lemon

Juice of 1 orange

  1. Preheat the oven to 180°C.
  2. Combine the sugar, almonds, flour, cornmeal, baking powder in a bowl. Add the eggs, zest, yoghurt and oil and stir well until you have a thick, gloopy batter.
  3. Pour this into a lined baking dish or cake tin (it will be quite large), or drizzle with oil and dust with cornmeal as an alternative lining. Bake for 30 minutes, until a skewer comes out clean. Leave to cool for 1 hour.
  4. In a dry frying pan toast the pistachios, lightly crushing them with a wooden spoon. Pour in the honey and juices and get everything fluid. Pierce the top of the cake many times with a knife and pour the honey nut mixture all over. Serve in wedges with more Greek yoghurt and some sliced strawberries.
Categories
apples cake food maple syrup

toffee apple cake

A recent visit to From Donuts to Delirium had me drooling at the Ottolenghi cake recipe: an olive oil apple cake with a maple syrup-cream cheese frosting. I had to make it. Isn’t that what bank holidays are for?

Ye gods, it was good. A firm crust on the outside with a light, bubbly texture. Soft and acidic bites of apple here and there. And an unctuous, creamy, super-sweet maple-syrup flavoured icing. Delicious! The only thing I’ve changed is the name: it’s a bit of a mouthful so I thought toffee apple cake summed it up much more tidily.

I won’t bother re-printing the recipe here, head on over to From Donuts to Delirium for the whole thing.

Exit mobile version